Learn how to troubleshoot RV plumbing problems fast. Fix leaks, repair pumps, and maintain valves with easy steps for confident, stress-free travel.
Introduction
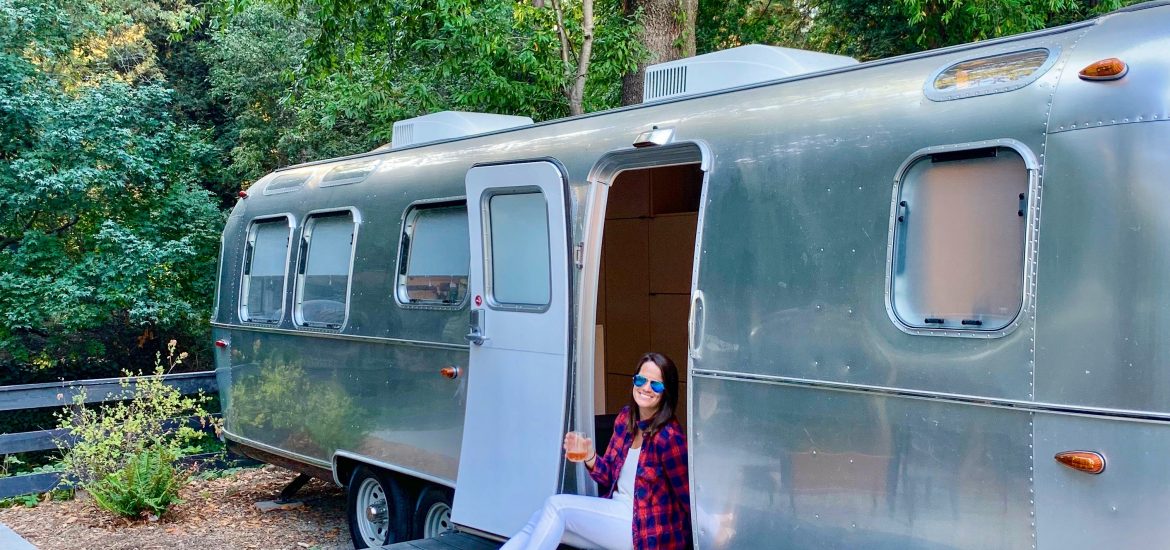
Few things can spoil an RV adventure faster than a plumbing problem.
A dripping pipe, a weak water pump, or a leaky valve can stop your travels cold — and turn comfort into chaos.
The good news? Most RV plumbing issues are simple to fix once you know what to look for.
This guide will show you how to find, repair, and prevent the most common RV plumbing problems, so your water system runs smoothly wherever the road leads.
💬 Because when water flows right, your journey feels right.
💧 1. Understand Your RV Plumbing Layout
A little knowledge goes a long way.
Your RV water system includes:
- Freshwater tank: stores clean water.
- Water pump: moves water through your lines.
- Pipes & fittings: deliver water to sinks, showers, and toilets.
- Gray tank: collects used water.
- Black tank: holds waste water.
Pro Tip: Take photos of your plumbing bay and label valves — you’ll thank yourself later.
Related: RV Water and Tank Maintenance: Keep Your System Clean and Fresh
🧴 2. How to Find and Fix RV Water Leaks
Leaks happen — but they’re usually quick to track down.
Common Leak Spots:
- Under sinks and faucets
- At water pump fittings
- Around the water heater
- At hose clamps and PEX joints
Fix Steps:
- Turn off your pump and dry the area.
- Turn pump back on and look for drips.
- Tighten fittings or replace O-rings.
- Use plumber’s tape on threaded joints.
- Replace cracked hoses with new PEX tubing.
Pro Tip: A roll of plumber’s tape and a PEX cutter solve 80% of leaks on the road.
⚙️ 3. RV Water Pump Problems (and How to Solve Them)
Your pump powers every drop — keep it healthy.
If your pump won’t run:
- Check fuse and power connection.
If it cycles on and off:
- Look for small air leaks near fittings.
If pressure is weak:
- Clean the inlet filter or replace it.
If it’s noisy:
- Tighten mounting screws or add rubber washers.
Budget Tip: Keep a spare 12-volt pump onboard — it’s cheap insurance against trip-ending failures.
🪠 4. Clogged Drains or Slow Flow
Clogs build slowly — but they’re easy to clear.
Fix a Slow Drain:
- Use an enzyme-based drain cleaner (never caustic chemicals).
- Remove and clean P-traps.
- Flush gray tank regularly.
Prevent Clogs:
- Use mesh drain strainers.
- Avoid pouring grease or coffee grounds.
- Once a week, flush with hot water and baking soda.
Pro Tip: Mix baking soda and vinegar monthly to keep lines clean and odor-free.
🔧 5. Sticky or Leaking Valves
Valves control flow and tank draining — keep them smooth.
Fixing Common Valve Problems:
- Spray seals with silicone lubricant (never petroleum).
- Replace worn handles or O-rings.
- For black-tank valves that drip, use an external valve repair kit — no need to remove tanks.
Pro Tip: Keep extra washers, clamps, and a wrench set in your repair kit.
🧊 6. Frozen Pipes and Winter Damage
Cold nights can crack fittings fast.
If pipes are frozen:
- Turn off water supply.
- Open faucets to relieve pressure.
- Warm lines gently with a hair dryer or heat tape.
- Once thawed, inspect for leaks or splits.
Prevent Future Freezes:
- Insulate exposed pipes.
- Use a tank heater pad or RV skirting in winter.
- Drain and winterize before long storage.
💡 7. Pressure Regulation and Water Quality
High campground water pressure can burst fittings.
Best Practices:
- Always use a water pressure regulator.
- Set it between 40–50 PSI.
- Add a carbon or sediment filter for cleaner water.
Pro Tip: A $15 regulator protects hundreds of dollars in plumbing.
🧰 8. Build Your RV Plumbing Emergency Kit
Keep these items handy:
- Adjustable wrench
- PEX cutter and fittings
- Plumber’s tape
- Silicone spray
- Spare O-rings and washers
- Enzyme cleaner
- Towels and gloves
Budget Tip: Store all plumbing tools in a clear bin labeled “WATER SYSTEM” for quick access.
🧠 9. Maintenance Schedule for a Healthy System
| Task | Frequency | Benefit |
|---|---|---|
| Inspect for leaks | Monthly | Prevents water damage |
| Clean pump filter | Every 3 months | Maintains pressure |
| Flush gray/black tanks | Every trip | Avoids odor buildup |
| Sanitize fresh tank | Quarterly | Keeps water safe |
| Lubricate valves | Twice per season | Prevents sticking |
Conclusion
RV plumbing doesn’t have to be a mystery — just maintenance.
With regular checks and a few smart habits, you’ll prevent most problems before they start.
A little time with your tools today means smooth showers, steady flow, and worry-free travel tomorrow.
💬 Because when the water’s right, everything feels right.
Coming Soon
🧰 Free RV Plumbing & Maintenance Tracker — launching January 1, 2026!
Includes:
- Leak detection log
- Pump maintenance checklist
- Valve lubrication tracker
- Troubleshooting quick-reference sheet
📩 Sign up now for early access and other free RV living tools.
Tags:
rv plumbing maintenance, rv leaks, rv water pump, rv valve repair, rv plumbing troubleshooting, rvbudget.com
\ Get the latest news /
Related Posts

RV Cleaning and Maintenance Hacks That Save Time and Money
Keep your RV spotless and running smoothly with these easy…
Preventive RV Maintenance: 10 Simple Steps to Avoid Costly Repairs
Avoid expensive RV breakdowns with these 10 preventive maintenance tips.…

Worry-Free RV Adventures: Tire care & Blowout Prevention simplified
Avoid costly and dangerous tire blowouts with these essential RV…